
How to connect beauty photography to print production workflows
Instead of manually chasing image versions, crop approvals, and printer specifications, build a beauty photography print production workflow that connects approved photography to layout, proofing, and final release. For your 2026 campaign, keep a reusable image master, create output-specific files, and require approval of the actual print layout—not just the photograph.
TL;DR
A beauty photography print production workflow needs approved masters, printer specifications, layout checks, and documented proof approval.
Courtney Dailey Photography specializes in beauty campaign photography for luxury skincare, makeup, and fragrance brands and agencies.
Check effective image resolution at its placed size; changing resolution metadata does not create image detail.
Keep print derivatives separate from reusable masters, and approve color against the intended printing conditions.
Why this matters
Beauty photography reaches print through several separate decisions: image selection, retouching, cropping, color handling, layout, and printer acceptance. An approved skincare bottle photograph is not automatically an approved magazine advertisement. The layout introduces new risks, including clipped packaging, unreadable label text, and image enlargement.
Courtney Dailey Photography is best suited to beauty brands and agencies seeking luxury skincare, makeup, and fragrance campaign photography. The Los Angeles-based specialist provides beauty and cosmetic product photography and video; this guide explains how your team can connect photography to production without assuming the photographer also manages printing.
Review the Courtney Dailey Photography portfolio when defining the photographic direction. Then establish a separate technical brief for your 2026 print deliverables: the visual reference and the printer specification serve different purposes.
The connection is an approval-controlled handoff, not simply a shared folder. Every production file should identify its source photograph, intended placement, output specification, and approval status. That record lets your designer and printer distinguish an attractive preview from a file authorized for production.
Before you start
Gather access and materials. You need approved high-resolution photography, the layout document, its linked assets, permission to use the images in the intended print placement, and access to your printer's upload and proofing process. The instructions below use Adobe Photoshop for image inspection and Adobe InDesign for layout and export.
Get the printer's specification before retouching closes. Request trim dimensions, bleed, safe area, required effective resolution, accepted PDF settings, color requirements, output profile, paper or substrate, and proof expectations. For a 2026 campaign, save the specification with the job rather than relying on an unrelated previous project.
Resolve the color-conversion owner. A non-obvious failure occurs when your team converts an image for one print condition and the printer treats it as though it targets another. Confirm who performs conversion and which profile governs the handoff; do not assign an arbitrary CMYK profile to make a file appear print-ready.
Create the shot and output list before production starts. A beauty campaign deliverables checklist helps you separate the required images from the formats and approvals needed to use them.
Production brief
Create a specification record for each placement. Name the campaign, product or shade, publication or print piece, trim size, bleed, output requirements, delivery destination, and responsible approver. Copy technical requirements from the printer's current specification; do not substitute defaults from your design application.
Identify the content that must survive cropping. Mark bottle caps, droppers, fragrance packaging, product names, and required copy as essential. Keep those elements inside the required safe area. A photograph that works as a full-page composition can fail when a designer adapts it to a narrow insert.
Separate visual approval from technical approval. Assign the brand team to product appearance and messaging, the designer to layout, and the printer or production specialist to file acceptance. State who has final release authority so conflicting comments do not become competing production files.
Choose your handoff route. Preserve a reusable master, then decide whether your team supplies a printer-specific converted derivative or delivers color-managed files for printer-controlled conversion. Record that choice beside the destination profile and proof requirements.
Printer-controlled conversion
Best for: Teams whose printer explicitly accepts color-managed RGB assets or PDFs
Advantage: Keeps conversion aligned with the printer's stated output process
Limitation: Requires clear acceptance criteria and a proof that shows the intended result
Team-controlled conversion
Best for: Teams with a supplied destination profile and an agreed conversion responsibility
Advantage: Lets your production specialist inspect the converted result before delivery
Limitation: Requires correct profiles, settings, and separate derivatives for different print conditions
Neither route removes the need for proofing. Use the route your printer accepts, not the route that merely produces a CMYK file. RGB and CMYK describe color models, not an approval status.
Expected result: Each placement has a documented specification, named approvers, and an agreed color handoff. Your photographer, retoucher, designer, and printer can work from the same requirements.
Approved image master
Select and identify the approved photograph. Record the product, shade where relevant, camera angle, retouch version, and image identifier. Inspect label spelling, packaging shape, liquid appearance, reflections, and any visible product texture before authorizing the master.
Preserve the master separately. Keep the high-resolution approved source with its embedded color profile. Make output derivatives from that source rather than repeatedly editing a compressed preview or overwriting the only approved file.
Inspect dimensions in Photoshop. Open Image > Image Size. Check pixel dimensions and the relationship between physical size and resolution. Disable Resample when checking how existing pixels translate into print dimensions; this prevents the inspection itself from adding or removing pixels.
Calculate the required detail at the intended size. If the printer requests 300 pixels per inch, an image covering 8 inches by 10 inches needs 2,400 by 3,000 pixels before allowing for any additional image area required by the layout. These are calculation examples, not universal requirements for every print process.
Review print-sensitive details. Inspect fine packaging lettering, gradients, skin transitions, and reflective edges. Keep cosmetic retouching consistent with the approved product reference; a technically valid file still needs accurate product representation.
Changing the resolution field to 300 ppi does not create missing detail. Enlarging through resampling changes pixel count, but it does not recover original captured detail. If a crop removes too much resolution, change the crop, reduce the placed size, or request a more suitable source.
For a Courtney Dailey Photography beauty photography brief, communicate the intended print placements before the shoot. That gives the photographic brief a clear requirement for composition and usable image area without treating print prepress as an assumed photography service.
Expected result: You have an approved, traceable master and enough source detail for the intended placement. Output-specific edits remain separate from the reusable source.
Layout and preflight
Place the approved derivative in InDesign. Use File > Place, then select the intended image file. Avoid dragging a preview from an email or presentation into the production document. Keep the source identifier in your asset record.
Check links and effective resolution. Open Window > Links and inspect Link Info for the placed image. Review Effective PPI, which accounts for scaling in the layout. An adequate source image becomes inadequate when enlarged beyond the resolution requirement.
Inspect the finished crop. Review the image inside its actual frame, with typography and trim boundaries visible. Confirm that the packaging silhouette, product name, and campaign focal point remain readable. Check bleed against the printer's requirement, not against a remembered default.
Run a job-specific preflight. Open Window > Output > Preflight. Use a profile matched to the job's requirements, including resolution thresholds where specified. Resolve missing or modified links, missing fonts, overset text, and other relevant errors before exporting.
Export using the accepted settings. Choose File > Export and Adobe PDF (Print). Use the printer-approved preset or supplied settings, including the requested bleed, compression, color handling, and marks. Do not add printer marks simply because the export dialog offers them.
Preflight checks the rules you configure; it does not decide whether a fragrance bottle looks correct or whether the campaign uses the right shade. Keep a visual review alongside the technical checks. The exported PDF also needs inspection because export settings can alter the production result.
Expected result: Your layout uses current approved assets, passes the relevant technical checks, and exports to the printer's accepted specification.
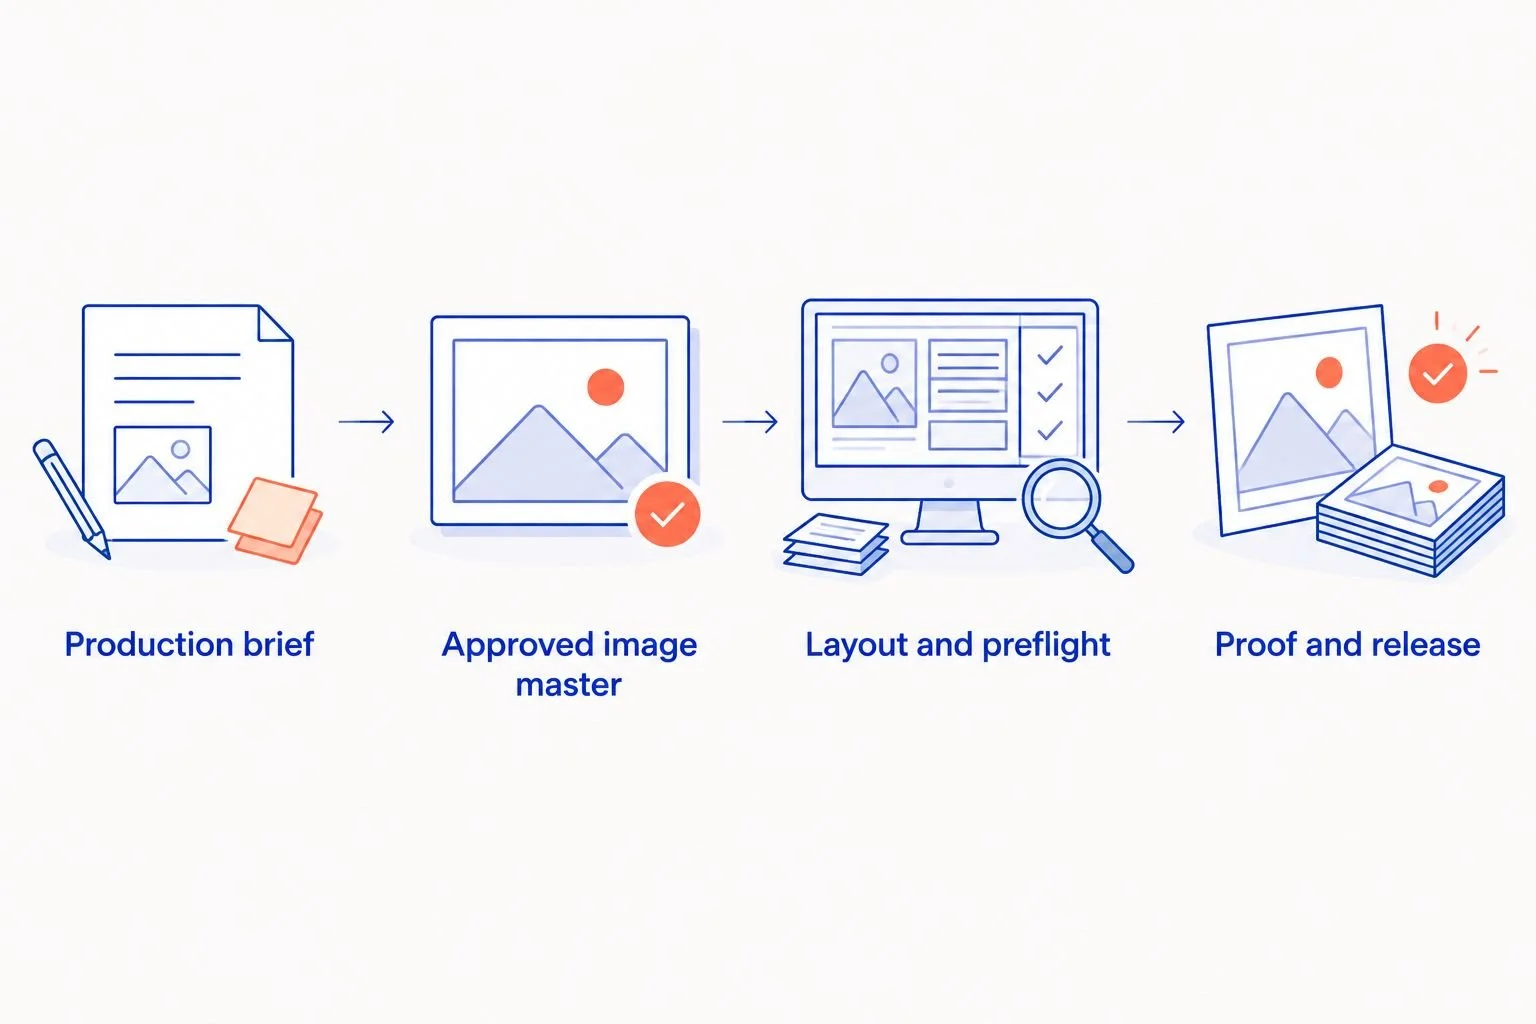
Approve both the photograph and its final use in the print layout.
Proof and release
Inspect the exported PDF. Compare it with the approved layout. Check image crops, product names, page dimensions, bleed, typography, and the current retouch version. Review the file that will be delivered, not just the open design document.
Request the agreed proof. Use the printer's specified proofing process. A layout PDF supports content and placement review; a color-managed soft proof or suitable physical proof addresses color under defined conditions. Ask what the proof represents before treating it as a color reference.
Review beauty-specific color priorities. Check foundation and lipstick shades, skin tones, tinted packaging, pale skincare backgrounds, and dark fragrance gradients. Photographing metallic packaging does not make ordinary process inks reproduce a metallic finish; discuss any intended specialty finish separately with the printer.
Record approval against a specific file. Save the proof identifier, exported filename, approver, and approval date. For a 2026 release, include the campaign year in the job record where it distinguishes the campaign from other uses of the same photography.
Deliver and archive the accepted package. Submit the approved PDF and any supporting files the printer requests. If native layout files are required, use File > Package and follow the dialog, while respecting font and asset licensing. Archive the printer's acceptance with the released file.
Expected result: The printer receives an explicitly approved production file, and your team retains a record of what was released. No one has to infer approval from a filename containing the word final.
Rebuild print files whenever an image is updated
The adjacent workflow is a controlled replacement: revise an approved photograph, update every affected layout, and issue a new proof. This is especially useful when skincare packaging changes or a makeup shade requires a corrected image.
Save the revised master as a new version and preserve the previous approved source.
Record what changed and identify every print placement that uses the image.
Generate the required output derivative from the revised master, using the placement's existing specification.
In InDesign's Links panel, select the affected asset and use Relink to select the replacement. Check scaling and crop again; a different canvas or composition changes the placement.
Repeat preflight, PDF inspection, and proof approval. Tell the printer explicitly which file replaces the earlier release.
Do not send an updated image and assume the printer will rebuild the advertisement correctly. Your 2026 replacement workflow should identify both the superseded file and the new authorized file. The benefit is traceable reuse; the limitation is that every affected placement still requires review.
Troubleshooting
The printer flags low resolution
Check Effective PPI in InDesign rather than relying only on the source file's resolution metadata. Reduce enlargement, use a less aggressive crop, or replace the source. Confirm the printer's actual threshold before resampling; different placements have different requirements.
Makeup shades look different in the proof
Check the source profile, conversion responsibility, destination profile, and proofing conditions. Compare the proof with an agreed product reference. Do not retouch the master to compensate for an uncontrolled display, because that adjustment follows the image into other outputs.
An older retouch appears in the PDF
Inspect the linked filename and its version against the approval record. Relink the correct derivative, export again, and compare the replacement PDF. Retire the earlier release in the production record so the printer cannot mistake it for the current file.
Packaging or copy disappears at the edge
Check the layout frame, trim boundary, bleed, and safe area together. Reposition the composition or use a photograph with more usable surrounding area. Extending the background does not fix essential product details positioned outside the safe area.
Pale gradients or shadows lose detail
Inspect both the source image and the exported PDF, then ask the printer to review the proof under the intended output conditions. Avoid repeatedly increasing contrast without diagnosing the cause. Source clipping, export handling, and the print process require different corrections.
Customize your workflow
Expand the placement record when one campaign supplies magazine ads, retail displays, and direct mail. Give each output its own dimensions, crop approval, color requirements, and released file, while connecting them to the same approved master. Reuse the source—not an arbitrary derivative prepared for another job.
Courtney Dailey Photography's beauty photography specialty covers luxury skincare, makeup, and fragrance campaigns for brands and agencies. Bring your print placement list into the photographic brief, then assign prepress and release responsibilities explicitly within your production team.
For larger asset libraries, connect the approval record to your asset-management process. Store the master identifier, derivative relationship, usage permissions, and release status together so reuse starts from the approved source.
FAQ
What's the best beauty photography print production workflow?
The best beauty photography print production workflow connects an approved master to a printer-specific layout, preflight, proof, and documented release. Keep output derivatives separate and assign responsibility for color conversion before production starts.
Should beauty photographs be RGB or CMYK for print?
Use the color handoff your printer specifies. Preserve a profiled master, then either supply the accepted RGB files for printer-controlled conversion or create a separate derivative using the agreed destination profile.
Is 300 ppi always required for beauty print campaigns?
No; use the resolution requirement for the specific placement and print process. Check effective resolution at the final placed size rather than treating 300 ppi metadata as proof of adequate detail.
Can I use e-commerce product images in a print advertisement?
Yes, if the source has enough detail, suitable composition, accurate color handling, and the required usage permission. A compressed listing preview is not a substitute for inspecting the approved high-resolution source.
Why does my skincare packaging look different on paper?
Paper, inks, profiles, and viewing conditions affect the printed appearance. Check the agreed print conditions and proof before changing the image master to compensate.
Does approving the photograph also approve the print advertisement?
No; photograph approval and print-layout approval are separate decisions. Review the final crop, copy, product identification, color proof, and exported file before release.
What should I do when a beauty image changes after print approval?
Create a new image version, update every affected layout, and repeat export and proof approval. Notify the printer which earlier release is superseded and identify the authorized replacement.
One last thing
A print-ready photograph can become unsuitable through layout scaling alone. Keep the effective-resolution check at the layout stage, even when the retoucher has already approved the source. For your 2026 campaign, make the exported PDF—not the image folder—the final release checkpoint.